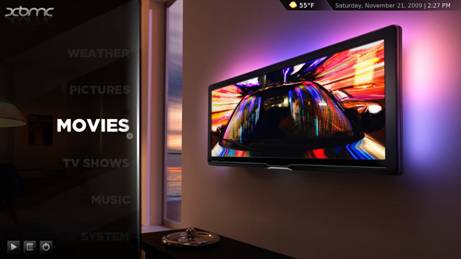
But considering Kodi is only supporting unencryption Blu-ray, so the above operation have to be devided into two parts: part one,add videos and unencryption Blu-ray movies to Kodi; part two, stick encryption Blu-ray to Kodi.
- Hot Search: MOV to Kodi | MP4 to Kodi | iTunes to Kodi | Tivo to Kodi | DVD to Kodi
Part one: Add videos and unencryption Blu-ray movies to Kodi
Step 1: Download and install Kodi on your computer. After that, open Kodi.
Step 2: Select "Videos" in the home screen menu.

Step 3: Seclect Files, then select "Add Videos".

Step 4: Click on "Browse" button. From This requester you can select the location where your Movies are located on your system. You can also choose a network drive if your Movies are there, this tutorial will use the network drive option and we will select "Windows network (SMB)".

Step 5: In the next screen you should see the directories within your selected directory. If this is the right directory select "OK". If all is ok then select "OK" again. In the next screen is where we tell Kodi what our source directory contains, in this case its "(Movies)". When your happy with the settings select "OK".

Step 6: Next screen is refresh info for contents of selected directory, select "Yes". When you've selected ok you will be presented with this next screen, keep an eye on very top almost to the right as this updates the database with info about the films it finds. This item can take a long time depending on how many Movies you have in your collection.

Step 7: When finished, some of your movies library will be listed on the interface.
Part two: Stick encryption Blu-ray into Kodi
For sticking encryption Blu-ray into Kodi, you can use Pavtube ByteCopy for Windows/for Mac to remove the copy protection from Blu-ray and backup Blu-ray to Kodi in a normal format like MP4, MKV, MOV, AVI, etc. On Windows, it can offer 6X fast Blu-ray ripping speed by H.264 with GPU acceleration.
You can free download and install here:


Other Download:
- Pavtube old official address: http://www.pavtube.cn/bytecopy/
- Cnet Download: http://download.cnet.com/Pavtube-ByteCopy/3000-7970_4-76158512.html
Step 1: Install ByteCopy and Load Blu-ray.
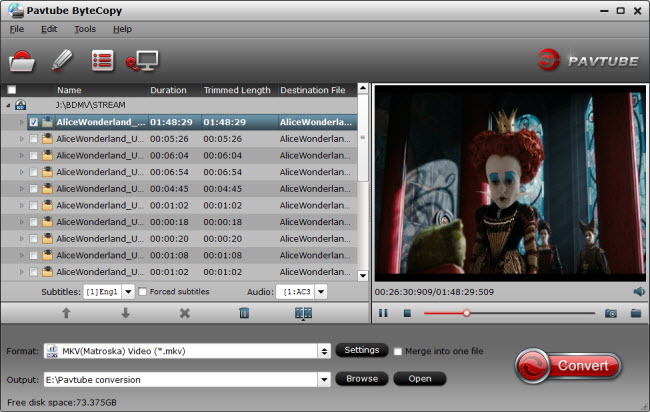
Free download Pavtube ByteCopy, install and launch it. Insert Blu-ray into disc drive, click the "Load file(s)" icon to browse to disc drive and import Blu-ray into this app.

Step 2: Select video format and set profile.
Choose from "Format" menu for Kodi playable video. In order to get Kodi file, you are suggested to follow the path "HD Video" > "MP4 HD Video(*.mp4)" as output format.

Tip: Parameters including video codec, video file size, bitrate, frame rate, audio sample rate, audio channels, and more in Settings can be reset to get a satisfying video/audio enjoyment on Kodi.
Step 3: Start to backup Blu-ray to Kodi
Click the big "Convert" to start the conversion. The conversion speed also depends on your computer configuration. My suggestion is not to play nor edit videos when it's converting. After conversion, click "Open" or "Open output folder" to quick locate converted files.
Once you have ripped your Blu-ray movie to the hard drive in MP4, it is time to add it to your Kodi movie library as the part one steps. After that, you just can freely enjoy all your Blu-ray movies on Kodi.
In addition: More features about Pavtube ByteCopy (Read comparison: ByteCopy vs DVDFab vs MakeMKV)
- ByteCopy also exports H.265, M3U8, lossless MKV format for your need.
- Enables you to rip backup the latest and region-locked Blu-ray/DVD to many other devices, like WD TV Live Plus, iPhone 6, Surface Pro 3, etc.
- Unique feature to perfectly create a single .srt subtitle file with chosen subtitle track from original movie.
- Free to choose wanted language and subtitle tracks from source Blu-ray and DVD movies for better movie enjoyment.
- Various video editing functions are available in this app to assist you with creating personal movies with customized adjustments. It allows you to trim, crop, split, merge, insert subtitles, add video effects, adjust volume, etc.